kafka3.0集群部署 |
| 发表者:admin分类:大数据2021-11-12 10:41:38 阅读[34628] |
kafka3.0集群部署
1.环境说明
服务器资源规划如下表:
| IP | hostname | 部署资源 |
|---|---|---|
| 192.168.162.201 | m162p201 | zookeeper,kafka |
| 192.168.162.202 | m162p202 | zookeeper,kafka |
| 192.168.162.203 | m162p203 | zookeeper,kafka |
操作系统版本(三个节点均相同):
[root@m162p201 software]# lsb_release -a
LSB Version:    :core-4.1-amd64:core-4.1-noarch:cxx-4.1-amd64:cxx-4.1-noarch:desktop-4.1-amd64:desktop-4.1-noarch:languages-4.1-amd64:languages-4.1-noarch:printing-4.1-amd64:printing-4.1-noarch
Distributor ID: CentOS
Description:    CentOS Linux release 7.7.1908 (Core)
Release:        7.7.1908
Codename:       Core
2.环境准备
2.1 依赖软件下载
计划安装的软件:
| 软件 | 版本 | 安装节点 | 下载地址 |
|---|---|---|---|
| jdk | jdk-8u311-linux-x64.rpm | m162p201,m162p202,m162p203 | https://www.oracle.com/java/technologies/downloads/#java8 |
| zookeeper | apache-zookeeper-3.5.6-bin.tar.gz | m162p201,m162p202,m162p203 | https://archive.apache.org/dist/zookeeper/zookeeper-3.5.6/ |
| kafka | kafka_2.12-3.0.0.tgz | m162p201,m162p202,m162p203 | https://kafka.apache.org/downloads#3.0.0 |
| eagle | kafka-eagle-bin-1.4.8.tar.gz | m162p201 | http://download.kafka-eagle.org/ |
将上述软件上传到对应服务器的/opt/software目录。
2.2 jdk安装
由于下载的是rpm包。因此直接执行rpm安装命令即可:
[root@m161p114 software]# rpm -ivh jdk-8u311-linux-x64.rpm
warning: jdk-8u311-linux-x64.rpm: Header V3 RSA/SHA256 Signature, key ID ec551f03: NOKEY
Preparing...                          ################################# [100%]
Updating / installing...
   1:jdk1.8-2000:1.8.0_311-fcs        ################################# [100%]
Unpacking JAR files...
	tools.jar...
	plugin.jar...
	javaws.jar...
	deploy.jar...
	rt.jar...
	jsse.jar...
	charsets.jar...
	localedata.jar...
[root@m161p114 software]#
2.3 zookeeper安装
在每台服务器都新建一个zookeeper用户:
useradd -d /opt/zookeeper zookeeper在 /etc/security/limit.conf中增加如下内容:
zookeeper soft nproc 16384zookeeper hard nproc 16384zookeeper soft nofile 65535zookeeper hard nofile 65536切换到zookeeper用户 su - zookeeper
建立软链接,便于以后切换版本:
ln -s /opt/zookeeper/zookeeper-3.4.10 /opt/zookeeper/zookeeper由于采用rpm安装了jdk,因此并不需要重新配置jdk的环境变量。
为了便于后续操作,将zookeeper的环境变量配置上。修改.bash_profile文件。
export ZOOKEEPER_HOME=/opt/zookeeper/apache-zookeeperexport PATH=$ZOOKEEPER_HOME/bin:$PATH之后重新加载环境变量:
soure .bash_profilezookeeper配置文件:
# The number of milliseconds of each ticktickTime=2000# The number of ticks that the initial # synchronization phase can takeinitLimit=10# The number of ticks that can pass between # sending a request and getting an acknowledgementsyncLimit=5# the directory where the snapshot is stored.# do not use /tmp for storage, /tmp here is just # example sakes.dataDir=/opt/zookeeper/data# the port at which the clients will connectclientPort=2181# the maximum number of client connections.# increase this if you need to handle more clients#maxClientCnxns=60## Be sure to read the maintenance section of the # administrator guide before turning on autopurge.## http://zookeeper.apache.org/doc/current/zookeeperAdmin.html#sc_maintenance## The number of snapshots to retain in dataDir#autopurge.snapRetainCount=3# Purge task interval in hours# Set to "0" to disable auto purge feature#autopurge.purgeInterval=1server.1=192.168.162.201:2888:3888
server.2=192.168.162.202:2888:3888
server.3=192.168.162.203:2888:3888
之后建立data目录:
mkdir /opt/zookeeper/dataecho 1 > /opt/zookeeper/data/myid同样在另外两台服务器将myid配置为 2和3.
上述操作完成之后,可以启动zookeeper:
zkServer.sh start2.安装kafka
2.1 建立用户并修改环境变量
useradd -d /opt/kafka kafka在 /etc/security/limit.conf中增加如下内容:
kafka soft nproc 16384kafka hard nproc 16384kafka soft nofile 65535kafka hard nofile 65536切换到kafka 用户 su - kafka
建立软链接,便于以后切换版本:
tar -zxvf /opt/soft/kafka_2.12-3.0.0.tar.gz ln -s /opt/kafka/kafka_2.12-3.0.0 /opt/kafka/apache-kafka修改环境变量 .bash_profile文件增加如下内容:
KAFKA_HOME=/opt/kafka/apache-kafkaexport PATH=$KAFKA_HOME/bin:$PATHalias acdconf='cd /opt/kafka/apache-kafka/config/'2.2 修改kafka配置文件
配置/opt/kafka/apache-kafka/config/server.properties
要修改的参数如下:
m162p201:
broker.id=1listeners=PLAINTEXT://192.168.162.201:9092
log.dirs=/opt/kafka/kafka-logs
zookeeper.connect=192.168.162.201:2181,192.168.162.202:2181,192.168.162.203:2181
m162p202:
broker.id=2listeners=PLAINTEXT://192.168.162.202:9092
log.dirs=/opt/kafka/kafka-logs
zookeeper.connect=192.168.162.201:2181,192.168.162.202:2181,192.168.162.203:2181
m162p203:
broker.id=3listeners=PLAINTEXT://192.168.162.203:9092
log.dirs=/opt/kafka/kafka-logs
zookeeper.connect=192.168.162.201:2181,192.168.162.202:2181,192.168.162.203:2181
2.3 启动kafka
cd /opt/kafka/apache-kafka
bin/kafka-server-start.sh -daemon config/server.properties
3.安装管理工具eagle
eagle安装在kafka用户下,不用重新创建目录。此外eagle只需要在一个节点安装即可。
切换到kafka用户:
sudo su - kafkatar -zxvf kafka-eagle-bin-1.4.8.tar.gz建立软链接,便于后续切换版本:
ln -s /opt/kafka/kafka-eagle-web-1.4.8 /opt/kafka/kafka-eagle在环境变量中增加eagle的相关内容:
KE_HOME=/opt/kafka/kafka-eagleexport KE_HOME重新加载环境变量:
source .bash_profile修改期配置文件:
vim /opt/kafka/kafka-eagle/conf/system-config.properties修改为如下内容:
####################################### multi zookeeper & kafka cluster list######################################kafka.eagle.zk.cluster.alias=cluster1
cluster1.zk.list=192.168.162.201:2181,192.168.162.202:2181,192.168.162.203:2181####################################### broker size online list######################################cluster1.kafka.eagle.broker.size=20####################################### zk client thread limit######################################kafka.zk.limit.size=25####################################### kafka eagle webui port######################################kafka.eagle.webui.port=8048####################################### kafka offset storage######################################cluster1.kafka.eagle.offset.storage=kafka
cluster2.kafka.eagle.offset.storage=zk####################################### kafka metrics, 15 days by default######################################kafka.eagle.metrics.charts=false
kafka.eagle.metrics.retain=15####################################### kafka sql topic records max######################################kafka.eagle.sql.topic.records.max=5000kafka.eagle.sql.fix.error=false####################################### delete kafka topic token######################################kafka.eagle.topic.token=keadmin####################################### kafka sasl authenticate######################################cluster1.kafka.eagle.sasl.enable=false
cluster1.kafka.eagle.sasl.protocol=SASL_PLAINTEXT
cluster1.kafka.eagle.sasl.mechanism=SCRAM-SHA-256
cluster1.kafka.eagle.sasl.jaas.config=org.apache.kafka.common.security.scram.ScramLoginModule required username="kafka" password="kafka-eagle";cluster1.kafka.eagle.sasl.client.id=cluster1.kafka.eagle.sasl.cgroup.enable=false
cluster1.kafka.eagle.sasl.cgroup.topics=cluster2.kafka.eagle.sasl.enable=false
cluster2.kafka.eagle.sasl.protocol=SASL_PLAINTEXT
cluster2.kafka.eagle.sasl.mechanism=PLAIN
cluster2.kafka.eagle.sasl.jaas.config=org.apache.kafka.common.security.plain.PlainLoginModule required username="kafka" password="kafka-eagle";cluster2.kafka.eagle.sasl.client.id=cluster2.kafka.eagle.sasl.cgroup.enable=false
cluster2.kafka.eagle.sasl.cgroup.topics=####################################### kafka ssl authenticate######################################cluster3.kafka.eagle.ssl.enable=false
cluster3.kafka.eagle.ssl.protocol=SSL
cluster3.kafka.eagle.ssl.truststore.location=cluster3.kafka.eagle.ssl.truststore.password=cluster3.kafka.eagle.ssl.keystore.location=cluster3.kafka.eagle.ssl.keystore.password=cluster3.kafka.eagle.ssl.key.password=cluster3.kafka.eagle.ssl.cgroup.enable=false
cluster3.kafka.eagle.ssl.cgroup.topics=####################################### kafka sqlite jdbc driver address######################################kafka.eagle.driver=org.sqlite.JDBC
kafka.eagle.url=jdbc:sqlite:/opt/kafka/kafka-eagle/db/ke.db
kafka.eagle.username=admin
kafka.eagle.password=123456####################################### kafka mysql jdbc driver address#######################################kafka.eagle.driver=com.mysql.jdbc.Driver#kafka.eagle.url=jdbc:mysql://127.0.0.1:3306/ke?useUnicode=true&characterEncoding=UTF-8&zeroDateTimeBehavior=convertToNull#kafka.eagle.username=root#kafka.eagle.password=123456
由于服务器上没有安装mysql因此,用sqlite即可
kafka.eagle.username=admin
kafka.eagle.password=123456
则指定了eagle登陆的用户名和密码。
监听8048端口。此外,为了eagle采集更多的kafka运行信息,需要开启kafka的jmx服务,修改每个节点kafka的启动脚本
vim /opt/kafka/apache-kafka/bin/kafka-server-start.sh
增加30行内容
 28 if [ "x$KAFKA_HEAP_OPTS" = "x" ]; then
 29     export KAFKA_HEAP_OPTS="-Xmx1G -Xms1G"
 30     export JMX_PORT="7788"
 31 fi
之后重启即可。注意每个节点都需要修改。
现在启动eagle
cd /opt/kafka/kafka-eagle/bin
[kafka@m162p201 kafka-eagle]$ cd bin/[kafka@m162p201 bin]$ lske.bat  ke.pid  ke.sh[kafka@m162p201 bin]$ ./ke.sh
Usage: ./ke.sh { start|stop|restart|status|stats|find|gc|jdk|version|sdate}[kafka@m162p201 bin]$ ./ke.sh start[2021-11-03 16:58:07] INFO: Starting  kafka eagle environment check ...
  created: META-INF/
 inflated: META-INF/MANIFEST.MF
  created: WEB-INF/
  created: WEB-INF/classes/
  created: WEB-INF/classes/org/
  created: WEB-INF/classes/org/smartloli/
  created: WEB-INF/classes/org/smartloli/kafka/
  created: WEB-INF/classes/org/smartloli/kafka/eagle/... ...

  created: META-INF/maven/org.smartloli.kafka.eagle/kafka-eagle-web/
 inflated: META-INF/maven/org.smartloli.kafka.eagle/kafka-eagle-web/pom.xml
 inflated: META-INF/maven/org.smartloli.kafka.eagle/kafka-eagle-web/pom.properties[2021-11-03 16:58:13] INFO: Port Progress: [##################################################] | 100%[2021-11-03 16:58:16] INFO: Config Progress: [##################################################] | 100%[2021-11-03 16:58:19] INFO: Startup Progress: [##################################################] | 100%[2021-11-03 16:58:07] INFO: Status Code[0][2021-11-03 16:58:07] INFO: [Job done!]Welcome to
    __ __    ___     ____    __ __    ___            ______    ___    ______    __     ______
   / //_/   /   |   / __/   / //_/   /   |          / ____/   /   |  / ____/   / /    / ____/
  / ,<     / /| |  / /_    / ,<     / /| |         / __/     / /| | / / __    / /    / __/
 / /| |   / ___ | / __/   / /| |   / ___ |        / /___    / ___ |/ /_/ /   / /___ / /___
/_/ |_|  /_/  |_|/_/     /_/ |_|  /_/  |_|       /_____/   /_/  |_|\____/   /_____//_____/


Version 1.4.8 -- Copyright 2016-2020
*******************************************************************
* Kafka Eagle Service has started success.
* Welcome, Now you can visit 'http://192.168.162.201:8048/ke'* Account:admin ,Password:123456
*******************************************************************
* <Usage> ke.sh [start|status|stop|restart|stats] </Usage>* <Usage> https://www.kafka-eagle.org/ </Usage>*******************************************************************
eagle启动完毕。
可以通过如下地址访问:
http://192.168.162.201:8048/ke通过上面配置的用户,admin / 123456登陆。
登陆后界面如下;
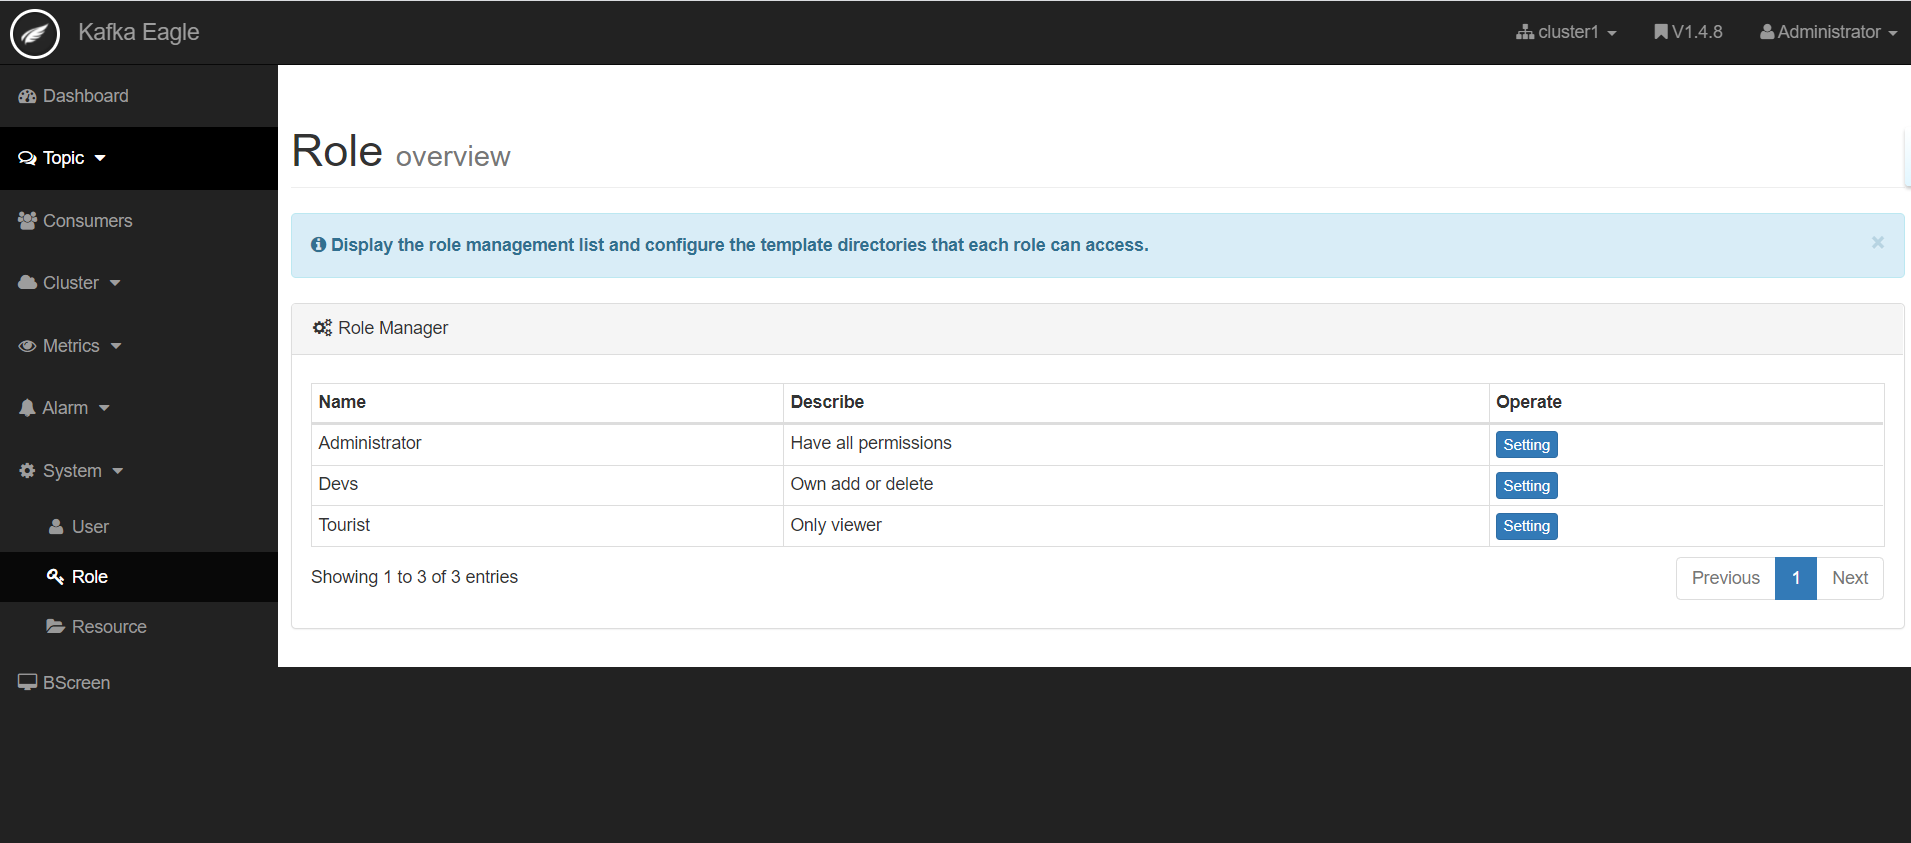
另外还提供了一个精美的BScreen:

转载请标明出处【kafka3.0集群部署】。
《www.micoder.cc》
虚拟化云计算,系统运维,安全技术服务.
| Tags: | [阅读全文...] |
最新评论